It's all about Fritillarias, a good-sized collection of which I have built up this year although none of which I have had long enough to see flower. The bulbs come in a variety of shapes and sizes but the typical form is two halves cradling the growing shoot. Some are flatter, like a flying saucer only rarer, and many come with tiny little grains of "rice" attached. These are in fact extremely small bulbils clinging to the parent bulb.
 |
| A typical Fritillaria bulb: this one's F. latakiensis from southern Turkey and Syria |
 |
| So the bulbs tend to arrive in paper bags like these, inorder to keep them well aired. The eagle-eyed among you will have noticed that the plant on the top right is actually an Iris. |
As soon as possible unwrap your package and open the bags to let air circulate. But be very careful at this juncture not to a) lose any, they are tiny and round, a recipe for good escapology or b) get them confused as no amount of Google imaging will help with identification, I know from experience. You may not even crack it when it flowers!
When choosing your planting medium try to do a bit of research on its natural habitat but whatever it is, it will do best in an open, friable compost with plenty of grit, perlite or vermiculte.
 |
| This is what I'm using, a mixture of peat-free, coir and plenty of perlite. I use it for most bulbs and alpines and it seems to do the job |
 |
| Add a slow-release fertiliser (bonemeal would be fine for organics) to keep the plant going up to flowering |
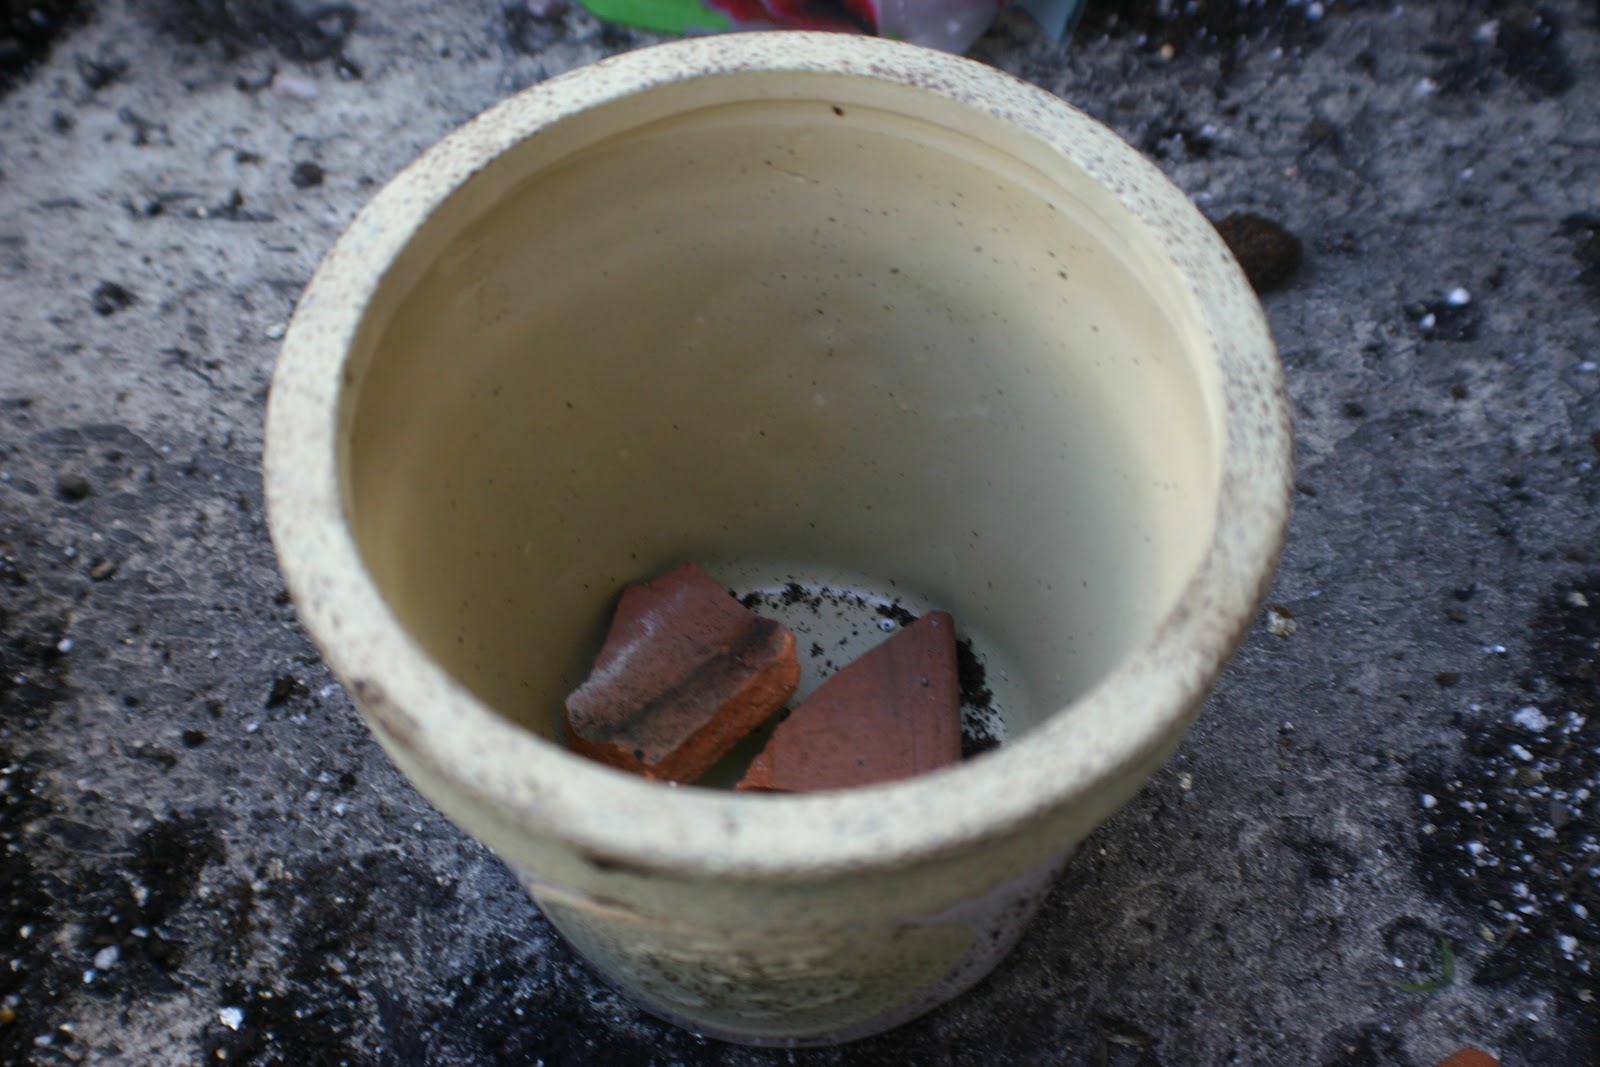 |
| Your pot doesn't have to as fancy as this! |
Choose your pot with regard to the final size of plant, rather than the bulb, as while large bulbs tend to produce large plants, some of the tiny ones can produce suprisingly tall plants. The clay/plastic argument will rage forever. Authority Ian Young of the Scottish Rock Garden Club http://www.srgc.org.uk/
Even with a clay pot (MAKE SURE IT HAS A HOLE IN THE BOTTOM!) I like to put in a bit of broken crock to aid drainage and then fill up almost to planting level with compost. What is planting level? Well, that depends on the species, some of the flying saucer types like to sit just below the surface like a Cyclamen, others, especially the biggies like persica, will need a good six inches on top of them and as much again below. Otherwise just go with the general bulb rule: three and a half time the size of the bulb down. Frits, in common with Lilies and many other bulbs, will actually use their roots to pull themselves up or down and find their own level. All you have to do when re-potting is remember what that level was!

 |
| This is a matter of personal choice, I have no proof it works! |
] like to lay my bulb on a layer of perlite to give it a little microclimate where it is protected to an extent from over-wet compost. It might equally act as a sump and draw the water to the bulb but I've found it helpful. It's a matter of personal choice. The bulb is also planted on its side. This is arguably to prevent water gathering in the hollow centre but, to be honest, it's quite hard with some to tell which is top and bottom so it gives you a better chance of getting the green stuff going up and the white bits going down!
 |
| I will add a layer of grit to the to level of the top of the pot (when it arrives from the mail order business I ordered it from who have seen fit to deliver each item ordered one by one. I'm glad I'm not paying more than the usual postage (especially since one was a 75L bag of compost!) |
So, then it's a matter of filling up to 1cm from the top and DONT FORGET THE LABEL with date planted, supplier, anything you might find useful. A layer of grit to fill to the top of the pot will help prevent any tendency to stem rot and also stop you messing the compost being disturbed and splashing upwhen you water.
Water sparingly, every few weeks, and protect from rain until the green breaks through and then water at will, never allowing the compost to dry out totally but don't overdo it either. The feed granules should be enough to keep it happy until flowering. When the flower fades leave the leaves, this is essential to build up strength in the bulb and any offsets. Move to a feed high in potash now, a tomato feed is ideal.
 |
| F. carica |
 |
| F. latakiensis |
 |
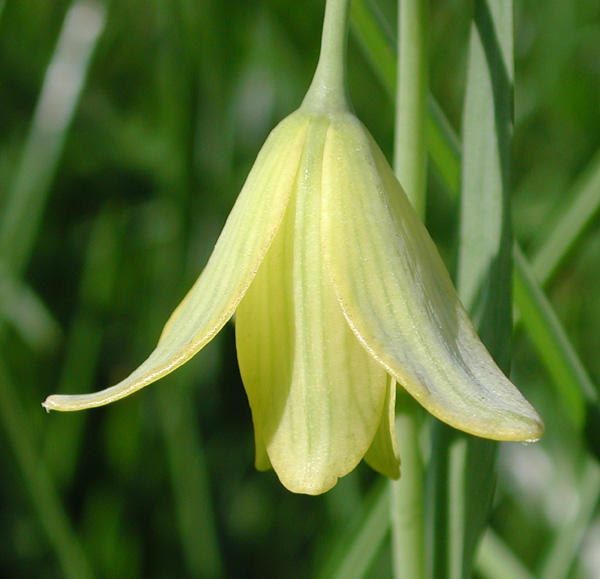
| F. montana (looks remarkably like our own F. meleagris but then the uneducated/interested would say thay all look much the same |
The Iris cycloglossa bulb is unusual, well even more unusual than juno Irises already are, in that the bulb has none of the chunky tuberous attached roots that are the hallmark of the section. Oh well, we'll see what comes up.
Well, more to come on Saturday, when hopefully some more goodies will have been delivered, although I have to wait until Tuesday for the cold frame, much needed now. Fans of health and safety law will love the conditions attached to the delivery notice. They will only leave it outside the front of the property (I don't really have a front, just a pavement) and the driver will on no account take it round the back or help me carry it. Which will be fun when I try to get it up the spiral staircase cos I bet it's packed in a box the size of the Tardis, even though it's less than a metre long and 50cm deep and high. I'll find a way, although getting it out the window will be fun...
Happy gardening, the plantboy
No comments:
Post a Comment